Best Stone Sealers for Steps & Patios (UK Guide)
The best sealers to protect stone steps from water, algae and stains — impregnating vs surface sealers, and our top picks.
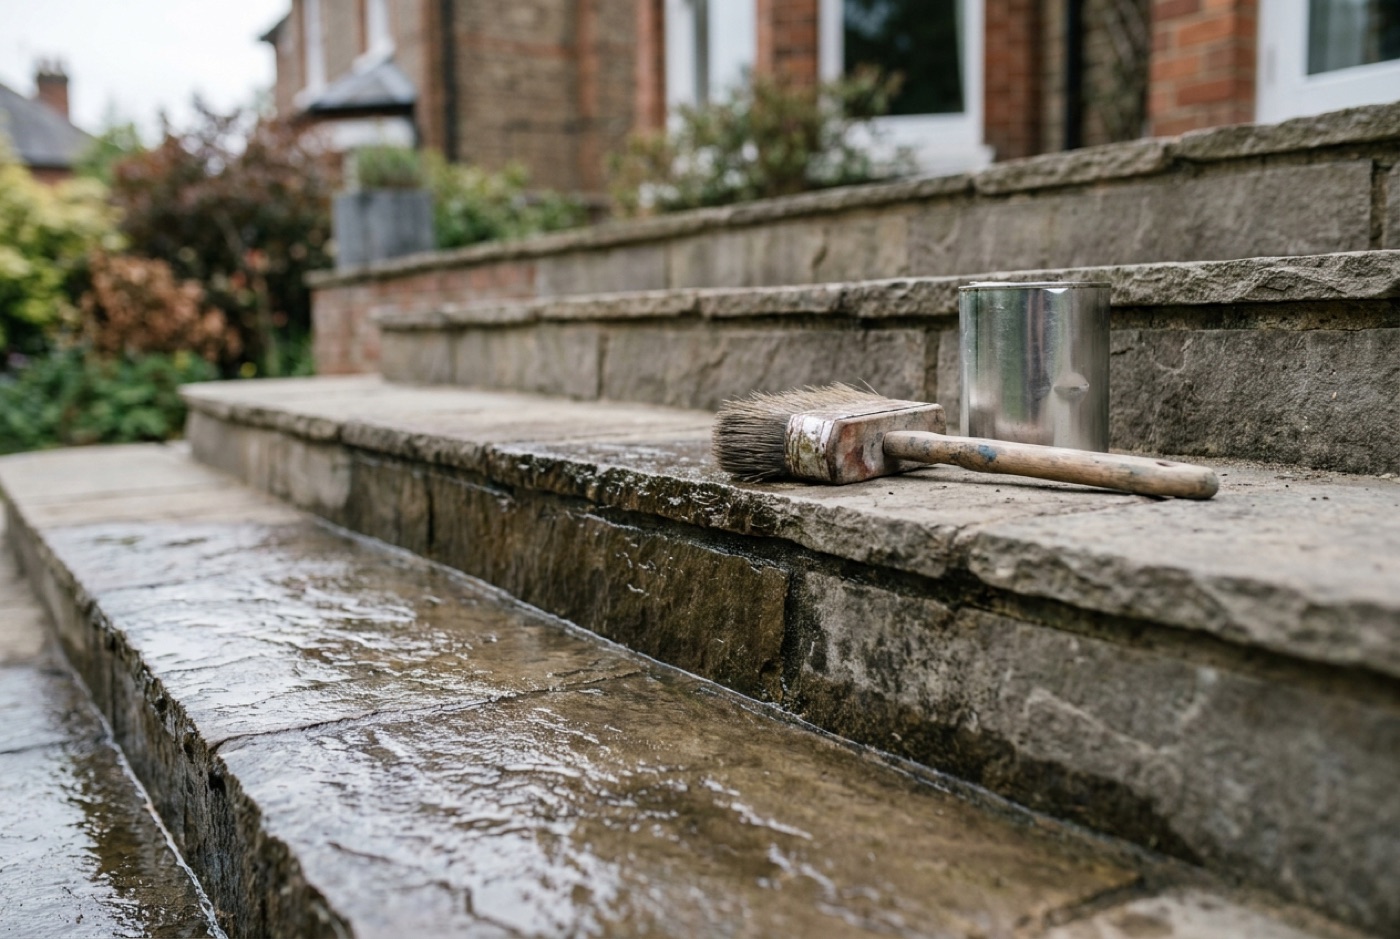
Sealing is the single cheapest thing you can do to keep stone steps safe and looking good. The best stone sealers for steps slow the algae that makes treads slippery, block the water that causes frost damage, and stop oil and leaf stains soaking in. Applied to clean, dry stone, a good sealer buys you years of easier maintenance for the price of an afternoon’s work. Below are the sealers we’d reach for, the differences between the main types, and — just as important — exactly how to apply one so it actually lasts. If your steps are grubby or greened-over first, start with our guide to cleaning stone steps and patios, because sealing dirt in only locks the mess under a barrier you now have to strip off.
Impregnating vs surface sealers — which do you need?
- Impregnating (penetrating) sealers soak in and protect from within, leaving the stone looking natural and breathable. Best for most natural stone steps.
- Surface sealers sit on top and can add sheen or a “wet look”, but they can make steps more slippery and need re-coating more often. Use with care on treads people walk on.
For steps specifically, we lean toward impregnating sealers — you keep the grip of the natural surface while gaining the protection.
Sealer types compared
There are really three families of sealer you’ll come across, and they do quite different jobs. Choosing the wrong one is the most common reason people end up disappointed — a glossy topical sealer on a busy tread looks brilliant for a fortnight, then peels and turns slippery. Here’s how they stack up for steps:
| Sealer type | How it works | Finish | Grip on treads | Re-seal interval | Best for |
|---|---|---|---|---|---|
| Impregnating (penetrating) | Soaks into the pores and repels water from within | Natural, matt — looks unsealed | Best — keeps the raw surface texture | 3–5 years | Flat treads on sandstone, York, limestone, granite |
| Colour-enhancing | Penetrates like an impregnator but deepens the natural colour | “Just-rained” richness, usually matt or satin | Good, if a matt version is used | 2–4 years | Risers, walls and borders where you want depth |
| Topical / surface (wet-look, gloss) | Forms a film that sits on top of the stone | High sheen, wet-look gloss | Poorest — the film can be slick when wet | 1–3 years | Vertical faces, ornamental features, low-traffic patios |
A few practical takeaways from the table:
- For the surface people walk on, impregnating wins. It’s breathable, it doesn’t change the grip, and it’s almost impossible to get wrong.
- Colour-enhancing sealers are a compromise — they penetrate (so they’re durable and breathable) but darken the stone. Lovely on riven sandstone; test on an offcut first.
- Topical sealers are for looks, not traffic. Keep the gloss for risers, copings and walls, and stick to a natural or matt product on the actual treads.
- Breathability matters outdoors. Any moisture that gets into the stone from behind (rising damp, a wet sub-base) needs a way out. Film-forming sealers can trap it and blister or cause spalling in a hard frost, which is why penetrating types are the safer choice on external steps.
For a fuller run-through of which stones suit which setting in the first place, see our pillar guide to the best stone for garden steps.
Our top picks
Smartseal Natural Stone Sealer — Natural (Dry) Finish
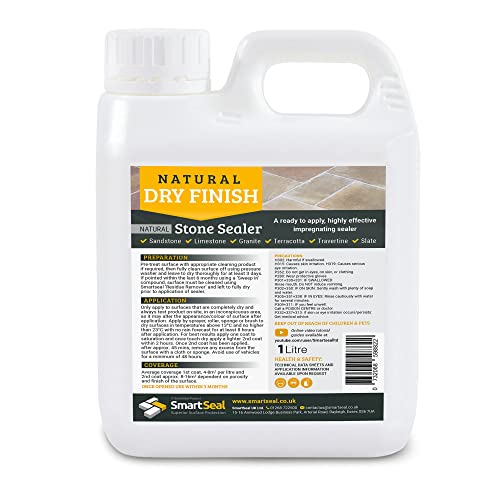
Smartseal Natural Stone Sealer — Natural (Dry) Finish
- Impregnating (penetrating) formula that soaks in and leaves a natural matt finish
- Works across sandstone, limestone, granite, travertine and slate
- Keeps the stone looking untreated and preserves underfoot grip
- No colour boost — won't darken or enrich the stone
- Needs a dry spell before and after applying
For sealing York, sandstone or limestone step treads, this is our default. It’s a penetrating sealer, so it protects from within rather than laying a film on top — the stone keeps its natural, dry matt look and, crucially, its grip. That last point matters most on the flat surface people actually step on, which is why this is the one we’d reach for first.
Smartseal Natural Stone Sealer — Wet Look Finish

Smartseal Natural Stone Sealer — Wet Look Finish (5L)
- Colour-enhancing finish that deepens and richens the stone
- Adds a wet-look sheen — great on sandstone, limestone and slate
- Well suited to riser faces, walls and border features
- The gloss finish can be more slippery underfoot — keep it off flat treads
- Changes the look, so it isn't for you if you want the stone left natural
If you love the rich, just-rained look, this delivers it — it deepens colour and adds sheen on sandstone, limestone and slate. One honest caveat: a wet-look gloss can be more slippery underfoot, so we’d keep it to the vertical risers, walls and borders and stick to the natural-finish sealer on the flat treads people walk on.
How to apply a sealer (step-by-step)
Applying a sealer isn’t difficult, but the details make the difference between a finish that lasts five years and one that fails in one. The two things people get wrong are sealing over dirt and sealing over damp — both trap problems under the barrier. Do it properly and you’ll rarely think about it again.
You’ll need: a stiff brush or the right cleaner, a bucket, a low-nap paint roller or a garden pump sprayer, a wide masonry brush for edges, clean lint-free cloths or a microfibre pad, knee pads, and — most importantly — a run of dry weather.
1. Clean the stone thoroughly
Any sealer you apply is only as good as the surface underneath it. Scrub off algae, moss, lichen, grime and any old flaking sealer, and rinse well. Grease or oil spots need a dedicated degreaser, because water alone won’t shift them and the sealer won’t bond over them. Our step-by-step on cleaning stone steps and patios covers the safe methods for each stone type — go gentle on soft sandstone and avoid harsh acids on limestone.
2. Let it dry completely — this is the big one
Impregnating sealers work by soaking into the pore space, and if that space is full of water there’s nowhere for the sealer to go. Give the steps at least 24–48 hours of dry weather after cleaning (longer for dense or shaded stone that dries slowly). The surface should look and feel bone dry. Sealing damp stone is the number-one cause of a patchy, hazy, or failed finish.
3. Check the weather window
You want a dry spell before and after application — most sealers need several hours to soak in and hours more to cure, and rain within that window can ruin the coat. Avoid sealing in direct blazing sun too, as the product can flash off before it penetrates. An overcast, dry, mild day is ideal. Mask off adjacent brick, timber, planting or render you don’t want treated.
4. Apply an even, controlled coat
Work in manageable sections, top step to bottom so you don’t paint yourself in. Apply an even coat with a low-nap roller, a wide masonry brush, or a pump sprayer — whatever gives you the most control on your layout. Don’t flood it; you want the stone wetted evenly, not puddled. Cut in along riser edges and against walls with a brush.
5. Work it in and wipe any pooling
For impregnating sealers, the stone can only absorb so much. After a few minutes, use a clean cloth or pad to spread out and wipe up any sealer that’s still sitting on the surface in hollows or low spots. Left to dry, that surplus can leave a white haze or a sticky sheen — exactly the film you were trying to avoid with a penetrating product. On a riven or textured stone, pay attention to the low points of the texture.
6. Apply a second coat on porous stone
Very absorbent stone — reclaimed York, softer sandstones, aged limestone — drinks the first coat and benefits from a second while the first is still slightly tacky (follow the product’s “wet-on-wet” or recoat guidance). Denser stone like granite or slate usually needs only one. More on how thirsty different stones are in our Indian sandstone guide, which is one of the more porous stones you’ll seal.
7. Keep traffic off until fully cured
Sealers are typically touch-dry in a few hours but not fully cured for 24–72 hours. Keep feet, pets, furniture and — above all — water off the treads until it’s cured, or you’ll mark the finish and undo the water-repellency just as it’s setting. Rope the flight off if it’s a through-route.
How often to re-seal & signs it has worn off
Sealers don’t fail all at once — they fade gradually, so the trick is knowing what to look for rather than waiting for a fixed calendar date. As a rough guide:
- Impregnating sealers: 3–5 years on steps, sometimes longer on sheltered, low-traffic flights.
- Colour-enhancing sealers: 2–4 years, as the enhancement fades before the protection does.
- Topical / wet-look sealers: 1–3 years, and they tend to fail visibly by peeling or dulling.
High-wear treads, full sun, and exposed south- or west-facing steps all shorten those intervals; shaded, sheltered steps stretch them out. Foot traffic literally abrades the sealed layer, so the middle of a busy tread will always go before the edges.
The water test
The quickest check takes ten seconds: splash a little water onto the tread. On sealed stone it should bead up or sit on the surface as droplets. If it soaks straight in and darkens the stone within a minute or two, the water-repellency has worn off and it’s time to re-seal. Test the busiest part of the tread, not a sheltered corner, because that’s where protection goes first.
Other signs it’s time
- Steps that green up with algae faster than they used to.
- Water stains, leaf tannin marks or oil spots that now sink in and linger.
- A wet-look or gloss coat that has gone patchy, cloudy, or is peeling.
- The stone generally looking “thirsty” and taking longer to dry after rain.
You don’t usually need to strip an impregnating sealer before re-coating — just clean the steps well, let them dry, and apply a fresh coat. Failed topical sealers are the exception: peeling film has to be stripped back first, which is a fiddly job and another reason we keep gloss off treads.
For the full method of building and finishing a flight — the point at which you’d apply that very first coat — see our guide to laying stone garden steps.
FAQ
Do stone steps really need sealing?
They don’t strictly have to be sealed, but on external steps it’s well worth it. A sealer slows algae growth (the main slip hazard), reduces water uptake that drives frost damage, and stops stains soaking in. On porous stone like sandstone or reclaimed York the benefit is biggest; very dense granite and some slates gain less but still shed stains and clean more easily once sealed.
Will a sealer make my steps slippery?
An impregnating (penetrating) sealer won’t — it soaks in and leaves the natural surface texture untouched, so grip is preserved. The risk comes from film-forming topical and wet-look sealers, which lay a smoother layer on top that can be slick when wet. That’s why we keep gloss finishes to risers, walls and borders and use a natural, matt impregnating sealer on the treads people actually walk on.
Can you seal wet or damp stone?
No — this is the most common mistake. Impregnating sealers need dry pore space to soak into, so sealing damp stone gives a patchy, hazy or failed finish. Allow at least 24–48 hours of dry weather after cleaning (longer for dense or shaded stone) and make sure the surface is bone dry before you start.
How long does stone sealer take to dry before you can walk on it?
Most sealers are touch-dry within a few hours but aren’t fully cured for around 24–72 hours. Keep foot traffic, pets, furniture and water off the treads for at least 24 hours — ideally longer in cool or humid conditions — so the finish sets properly and the water-repellency isn’t disturbed as it cures.
How often should you re-seal stone steps?
Plan on every 3–5 years for an impregnating sealer, 2–4 for a colour-enhancer and 1–3 for a wet-look/topical product. Rather than watching the calendar, use the water test: if splashed water soaks in and darkens the stone instead of beading, the sealer has worn off and it’s time to reapply. Busy, sunny, exposed treads need it sooner than sheltered ones.
Does sealer change the colour of the stone?
An impregnating natural-finish sealer leaves the stone looking untreated — no darkening. A colour-enhancing or wet-look sealer deliberately deepens and richens the colour for a “just-rained” effect. If you want the stone left as-is, choose a natural-finish impregnator; if you want more depth, test an enhancer on an offcut or a hidden corner first, because the change is permanent until it wears off.
What’s the best sealer for Indian sandstone steps?
Indian sandstone is fairly porous, so a good impregnating sealer soaks in well and gives strong water and stain resistance while keeping grip on the treads. A natural finish suits patios and paths; a colour-enhancer works if you want to lift the tones of a riven, multi-colour stone. See our dedicated Indian sandstone guide for how thirsty it is and what to expect from each finish.