30 Garden Steps Ideas: Sloped Gardens, Patios & Front Doors
30 garden steps ideas for sloped gardens, patios and front doors — natural stone, porcelain, sleepers and budget builds, with a practical tip for each.
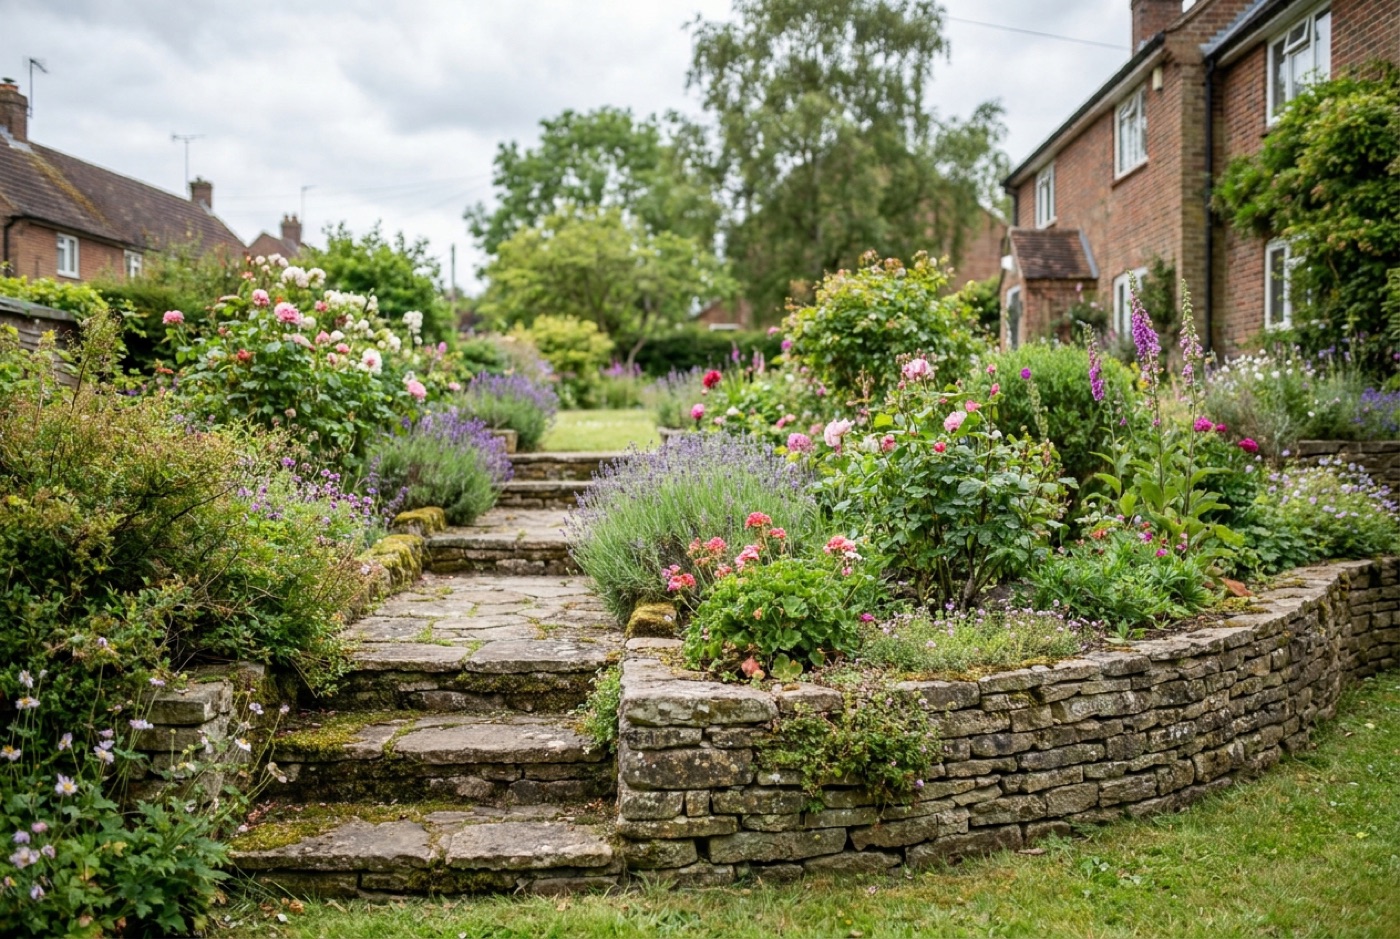
A change in level is the best thing that can happen to a garden. A slope you’ve been fighting for years becomes a sweeping flight; a flat plot gains drama the moment you drop a patio and step down into it. Steps are where safety and style meet — get them right and they pull the whole design together, guiding the eye, slowing the walk and framing the planting on either side. Get them wrong and they become the mossy, ankle-turning bit everyone avoids after rain. Below are 30 distinct ideas for garden, patio and front-door steps, spanning natural stone, porcelain, brick, sleepers and gravel, plus layout tricks, lighting and budget-friendly builds. Steal freely — each one notes the material, the look and one practical tip to get it right.
Planning your garden steps before you dig
Before you fall for a look, do a little groundwork. Measure the total height you need to climb (the vertical drop from top to bottom) and divide it into equal risers — a comfortable garden step has a rise of about 100–150mm and a going (tread depth) of 350–450mm, so nobody has to break stride. Consistency matters more than the exact figures: every rise on a flight should be the same, because a single odd step is what catches a toe. Think about where the water goes, too — give treads a slight fall to shed rain and bed everything on a solid, well-drained base so nothing rocks or sinks over a winter or two.
It also pays to think about the whole journey the steps sit within. If you’re taming a bank, our sloped garden ideas and retaining wall ideas show how steps, terracing and walls work together as one design. If the flight leads to your front door, the front-door steps ideas guide covers proportions, safety and kerb appeal. And if the steps join a longer route through the garden, matching them to your garden path ties everything together. With the practicalities settled, here are the 30 ideas.
1. Reclaimed York stone garden flight
Reclaimed York stone is the quintessential British garden step: warm buff-to-grey sandstone with a naturally riven face that grips underfoot and only looks better as it weathers. It suits period cottages and mature planting where you want steps that look like they’ve always been there. Buy the thickest reclaimed slabs you can find for the treads, and seal them — York is porous and will hold algae otherwise. See our York vs Portland vs granite comparison before you commit.
2. Indian sandstone steps on a budget
Riven Indian sandstone gives you a very similar look to York stone for a fraction of the price, which is why it dominates UK garden centres. The multi-colour blends (rippled buffs, greys and rusts) work in almost any planting scheme. Order matching bullnosed step units rather than cutting your own edges — the rounded front looks finished and is far kinder to shins.
3. Contemporary porcelain steps off a modern patio
If your patio is already porcelain, carry it into the steps with matching porcelain step treads for a seamless, contemporary flow. Porcelain barely absorbs water, so algae struggles to take hold, and a textured R11 finish keeps grip in the rain. The catch is the fitting: porcelain needs a full mortar bed, a primer slurry and a proper wet-cutter, so it’s less forgiving than sandstone for a first-timer.
4. Split-face slate for a dark, modern look
Slate brings a moody, near-black depth that sets off green planting and pale gravel beautifully. Split-face slate treads have a subtle riven texture for grip, and the colour reads as effortlessly modern. Slate can be brittle at the edges, so use thicker calibrated treads outdoors and bed them fully — voids under the slab are what cause cracks.
5. Flamed granite steps for heavy traffic
Where steps take a pounding — a main route to a garden office, a shared path — flamed granite is the workhorse that outlasts everything around it. The flamed finish is deliberately roughened for grip, and granite’s near-zero water absorption shrugs off frost. It’s the priciest natural option and unmistakably contemporary, so it suits modern schemes more than cottage gardens.
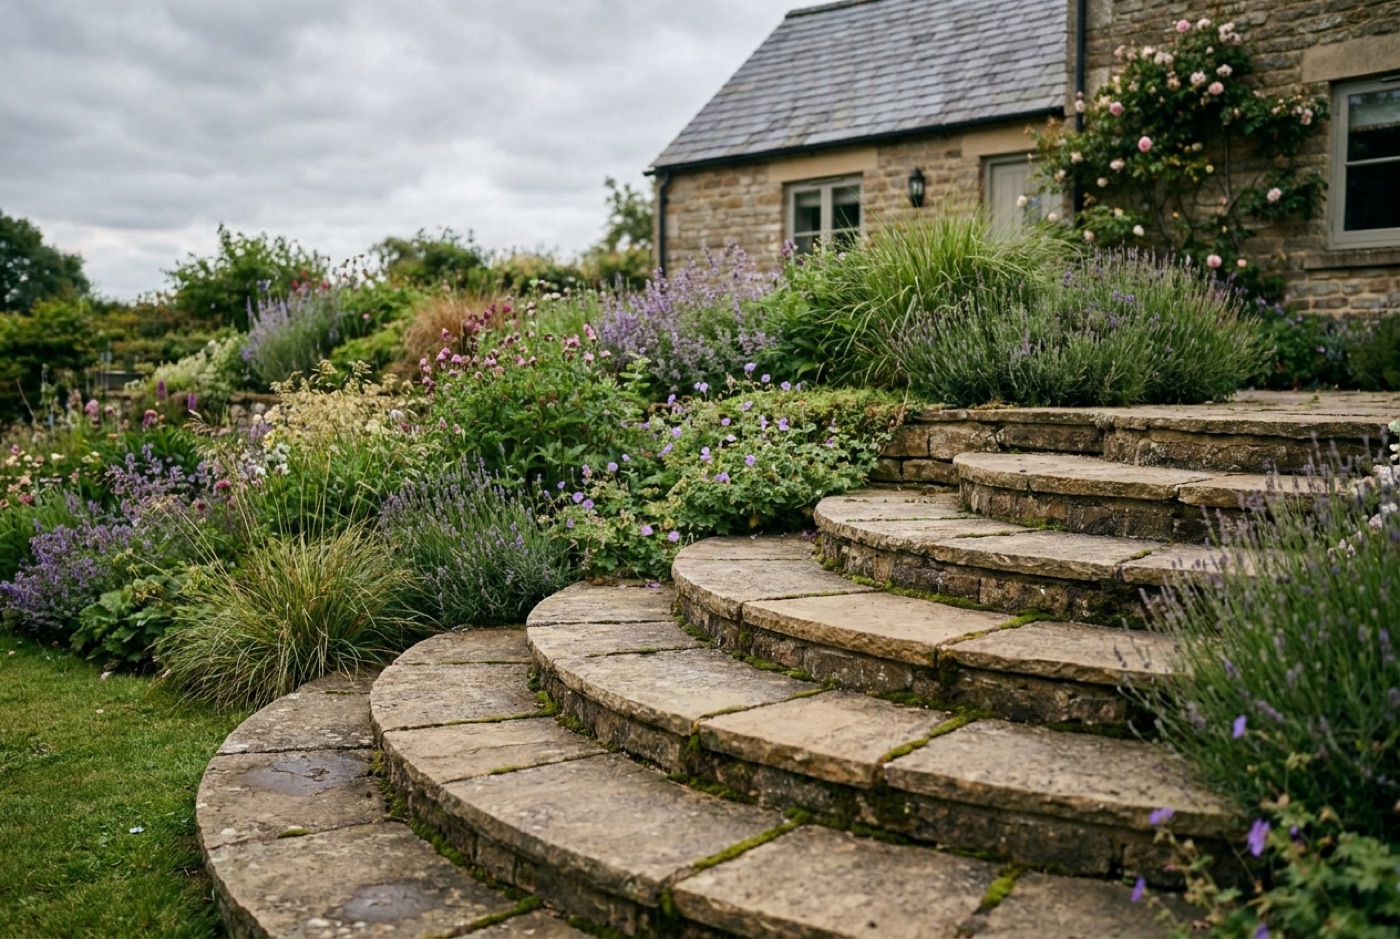 A gentle curve turns a flight into a journey — natural stone laid in small units follows the sweep far more easily than large rigid slabs.
6. Railway sleeper steps for a rustic slope
Timber railway sleepers are one of the cheapest, fastest ways to tame a sloped garden: lay them as risers, back-fill behind with gravel or bark, and you have solid steps in a weekend. The look is relaxed and rustic, ideal for allotment-style and woodland gardens. Use new landscaping-grade oak or treated softwood rather than old creosote-soaked sleepers, which leach tar and aren’t safe near planting.
7. Sleeper risers with gravel treads
A brilliant hybrid: sleepers form the front riser of each step and the tread behind is filled with self-binding gravel or pea shingle. It’s cheap, drains freely and has a lovely crunch underfoot. Bed a strip of galvanised angle or a timber lip along the front edge to stop the gravel migrating down the slope over time.
8. Curved steps that sweep into the garden
Straight flights are efficient; a gentle curve is romantic. Sweeping curved steps draw you round a corner and make a slope feel like a journey rather than a climb. Curves are far easier in materials you can cut to shape or lay in small units — brick, setts or cut porcelain — than in large rigid slabs. Set out the curve with a hosepipe on the ground first and live with it for a day before you dig.
9. Floating cantilevered stone treads
For a high-end modern look, thick stone or concrete treads can be cantilevered from a wall or gabion so each step appears to float, with a shadow gap beneath. It’s striking against a rendered or Corten backdrop. This is a structural detail, not a weekend job — the treads need proper anchoring or a concrete core, so get a landscaper or engineer involved.
10. Wide, shallow “welcoming” steps
Generous, low-rise steps that are much wider than the path feel gracious and relaxed, almost like a series of terraces. They’re perfect where a lawn meets a patio and you want the transition to feel deliberate. Keep the rise low (around 100–150mm) and the tread deep (400mm+) so the proportions feel calm rather than cramped — shallow gardens love a shallow step.
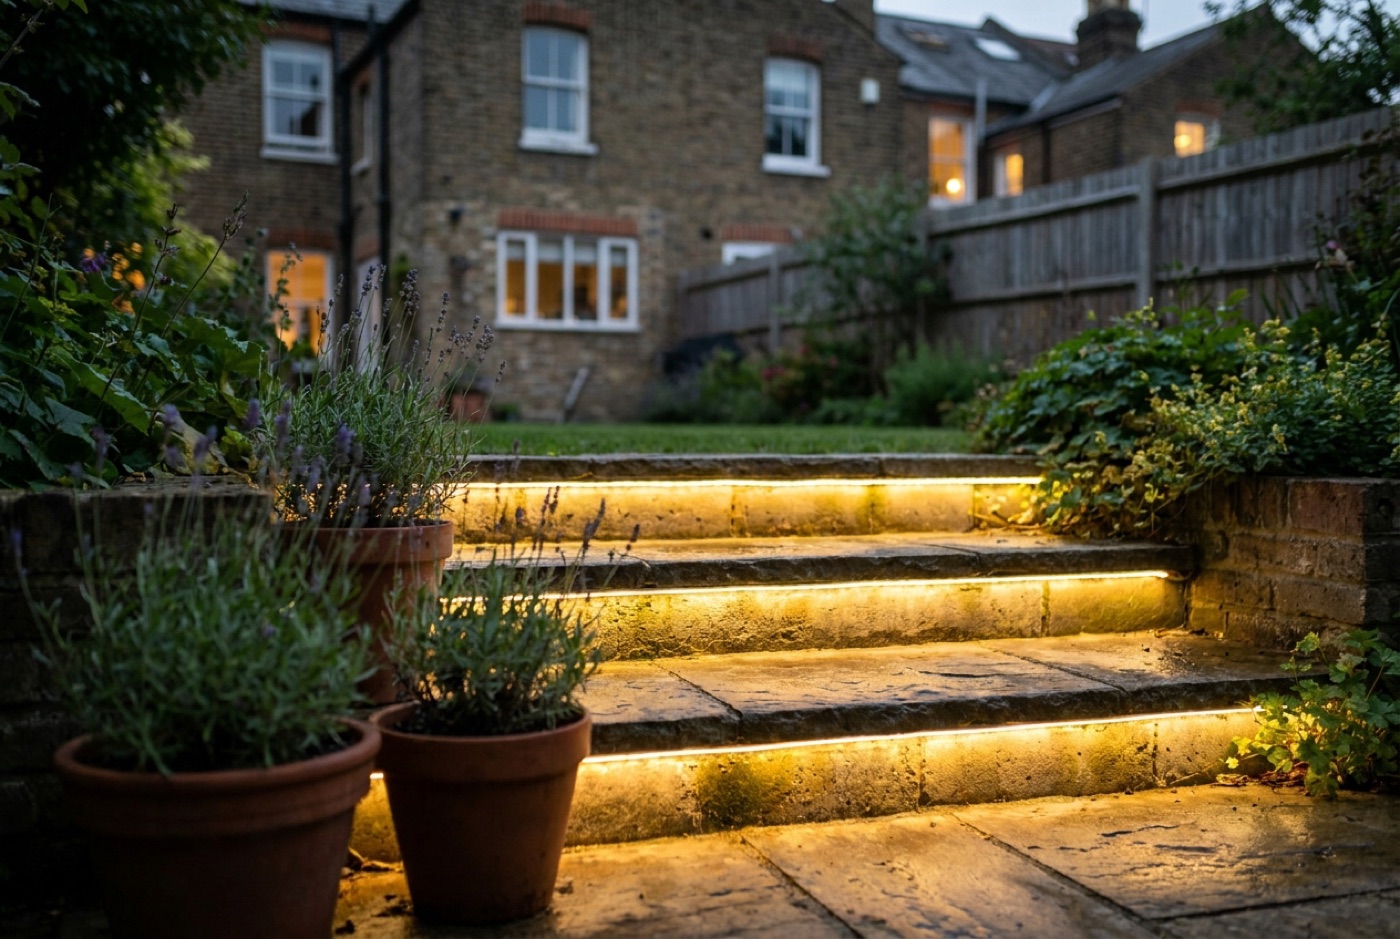 Low-level lights recessed into the risers make a flight safer after dark and turn it into the highlight of an evening garden — plan the cabling before you lay a single tread.
11. Brick steps to match a period house
Brick steps tie a garden back to a Victorian or Edwardian house better than almost anything, especially when you match the brick and bond to the original walls. Lay the treads as a soldier or basket-weave course for a decorative top. Use proper frost-resistant engineering or paving bricks (not soft facing bricks) for the treads, as they take the water and the wear.
12. Clay pavers and stone for a mixed-material step
Mixing materials adds character: a stone or concrete tread with a contrasting clay paver or brick riser reads as considered and bespoke. The two-tone effect is especially good for defining each step’s edge on a busy flight. Keep to two materials maximum — three starts to look accidental rather than designed.
13. Log-round steps for a woodland path
For a wild, informal corner, thick hardwood log rounds or timber discs set into the soil make charming stepping-stone steps up a gentle bank. They suit woodland and cottage gardens and cost almost nothing if you can source seasoned rounds. Sink them level, back-fill firmly, and accept they’ll get slippery — reserve this idea for low-traffic, dry-weather routes.
14. Gabion-sided steps
Wire gabion baskets filled with stone make bold, contemporary retaining cheeks either side of a flight, with stone or timber treads spanning between. The industrial look is having a moment and the baskets double as retaining walls on a steep slope. Fill them with a local stone so the steps feel rooted in the area rather than shipped in.
15. Planting pockets beside every step
Leave a gap between the steps and the retaining cheeks and fill it with low, tumbling planting — thyme, erigeron, alchemilla — so greenery softens the hard edges. It turns a functional flight into a feature and blurs the line between path and border. Choose tough, self-seeding plants that cope with the dry, free-draining conditions at a step’s edge.
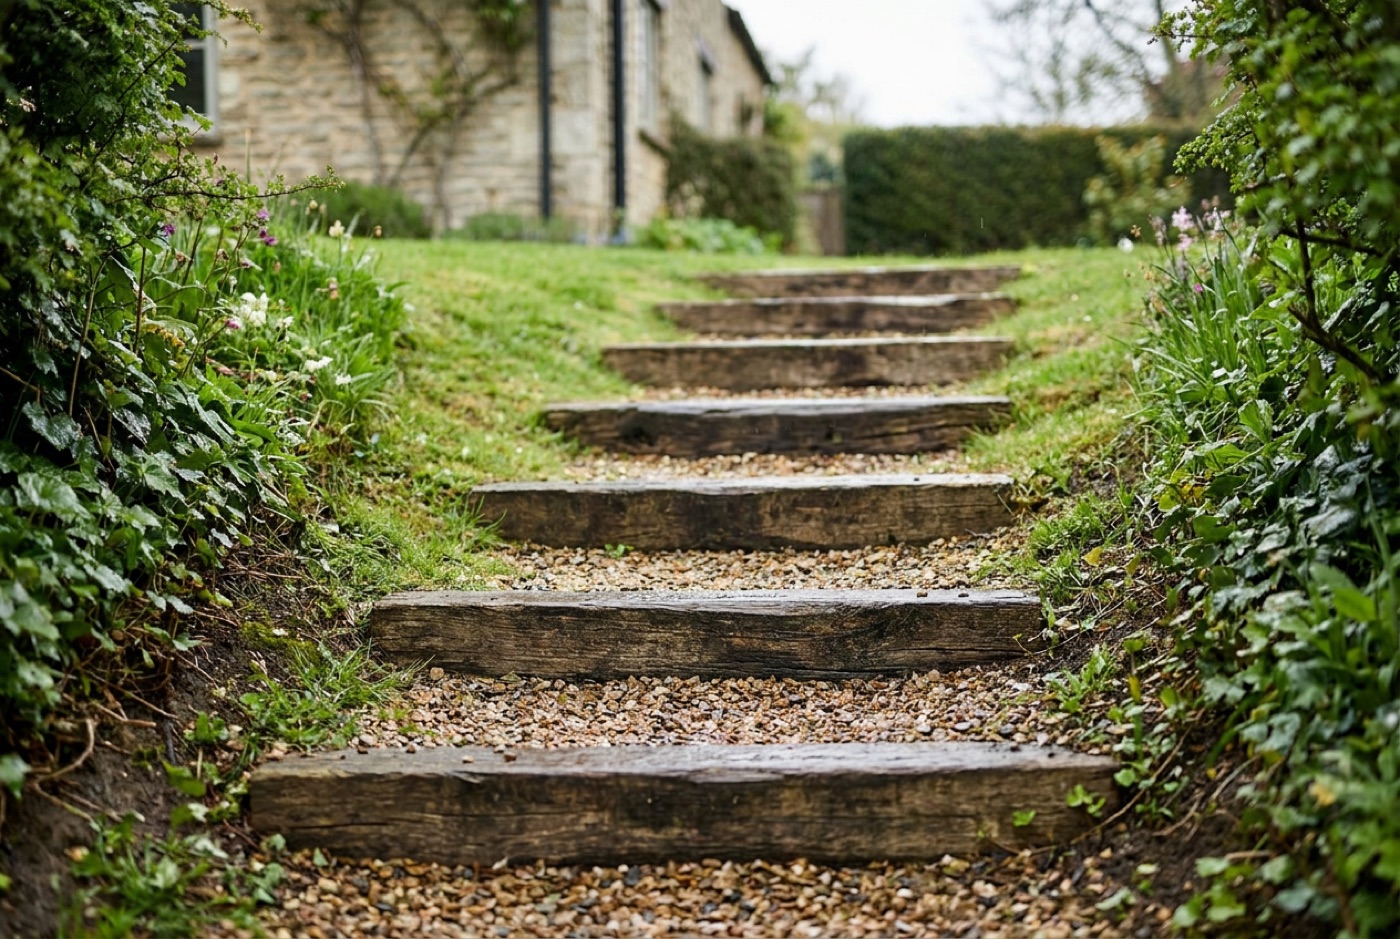 Timber sleepers as risers, back-filled with gravel or bark, are one of the fastest and cheapest ways to tame a slope — a genuine weekend job for a relaxed, rustic look.
16. Thyme and creeping herbs between treads
On stepping-stone steps or wide-jointed flights, plant low creeping herbs like thyme, chamomile or mind-your-own-business into the joints. Brushing past releases the scent, and the green joints look wonderfully established. Keep the planted joints to the centre of the tread where feet rarely land, so the plants survive and the edges stay safe.
17. Steps that double as retaining terraces
On a steep plot, treat each step as the front edge of a small planted terrace, so the flight and the levelling of the garden are one and the same. This is the classic answer to a bank that’s too steep to plant. Build the risers as proper low retaining walls with drainage behind, and the steps effectively pay for the terracing.
18. Split-level patio with a single grand step
Sometimes one step is the whole design: a single, wide, deep step dividing a patio into a dining level and a lounging level. It zones the space without a wall and reads as intentional. Make that one step visually obvious — a change of material or a lighting strip — because a single low step is exactly the kind people trip on.
19. Formal Portland stone front-door steps
For a front entrance, pale Portland limestone cuts to crisp, dressed lines that look formal and classical — the same stone behind countless London facades. It’s ideal for a low-traffic, showpiece flight up to a front door. Portland is soft and stains, so seal it and keep it off busy garden routes; save it for the grand approach.
20. Bullnosed front steps with a handrail
A front-door flight is where safety matters most, especially for older visitors. Pair bullnosed (rounded-edge) stone treads with a slim metal handrail for grip and reassurance. A powder-coated steel or galvanised rail suits both period and modern homes and is a straightforward retrofit.

VEVOR Wrought Iron Handrail (Fits 2–3 Steps)
- Length adjusts to fit 2–3 steps
- Black wrought-iron finish suits period & modern homes
- Comes with an installation kit
- Sized for 2–3 steps — check your rise and run
- Wrought-iron styling won't suit every scheme
On any front-door flight used by older visitors, a handrail is the single cheapest safety upgrade you can make. This adjustable wrought-iron rail bolts straight into sound concrete, stone or timber and comes with the fixings, so it’s a genuine weekend retrofit. Measure your rise and run first and pick the span that matches your flight.
21. Recessed step lighting for evening drama
Low-level recessed lights set into the risers wash each tread with a soft glow, which is both safer after dark and genuinely beautiful. It turns an ordinary flight into the highlight of an evening garden. Plan the cabling and recesses before you lay the steps — retrofitting lights into finished stone is a real pain.
22. Solar deck lights on a budget flight
If mains cabling isn’t practical, solar or battery LED step lights that surface-mount or inset into the tread edge give you the lit-step effect with no wiring at all. They’re perfect for a budget garden or a rented property. Buy a set with a decent warm-white colour temperature — cheap cold-blue LEDs make a garden look like a car park.

Asteria Solar Step Lights (Warm White, 6-Pack, IP67)
- No wiring — solar charged
- Warm-white glow, not harsh blue
- IP67 waterproof, built for outdoors
- Winter charge in the UK can be weak
- Not as bright as mains lighting
For a lit flight with zero cabling, a set of solar step lights is the easiest win going. They surface-mount or inset into the tread edge and charge off the sun, so they suit rentals and budget builds. Just temper your expectations for grip on short, grey UK winter days — a mains circuit is brighter if you can run one.
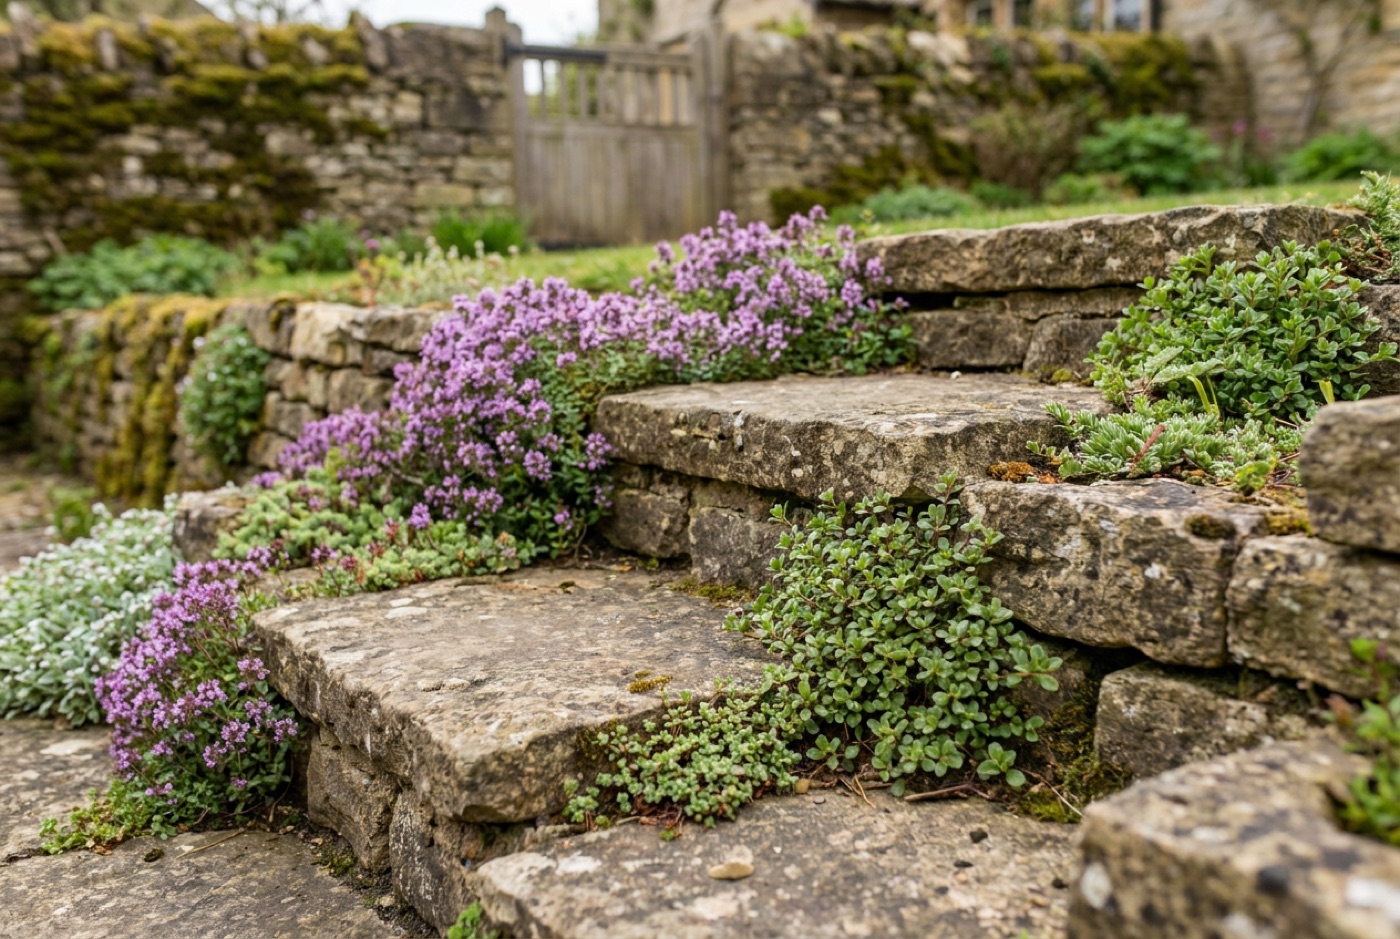 Tough, tumbling plants — thyme, erigeron, alpines — softening the edges of a stone flight blur the line between path and border and make the steps feel established.
23. Timber sleeper steps with integrated LED strip
For a warm, contemporary look, route a channel into the front of each sleeper riser and run a low-voltage LED strip along it. The light grazes the tread below and picks out the grain of the timber. Use an IP65-rated (or better) outdoor strip and a proper transformer — indoor tape will not survive a British winter.
24. Stepping-stone steps set into a grass bank
On a gentle grassy slope, individual stone slabs set flush into the turf make an informal flight you mow straight over. It’s cheap, quick and keeps the green feel of a lawn. Set each slab dead level and slightly below the grass so the mower clears them, and space them to a comfortable natural stride.
25. Cobble or sett steps for texture
Granite setts or cobbles laid as treads bring gorgeous, characterful texture and a period-yard feel, especially against brick. The small units follow curves easily and the joints add grip. Cobbles are uneven underfoot, so they suit slow, decorative routes rather than the main path where someone’s carrying shopping.
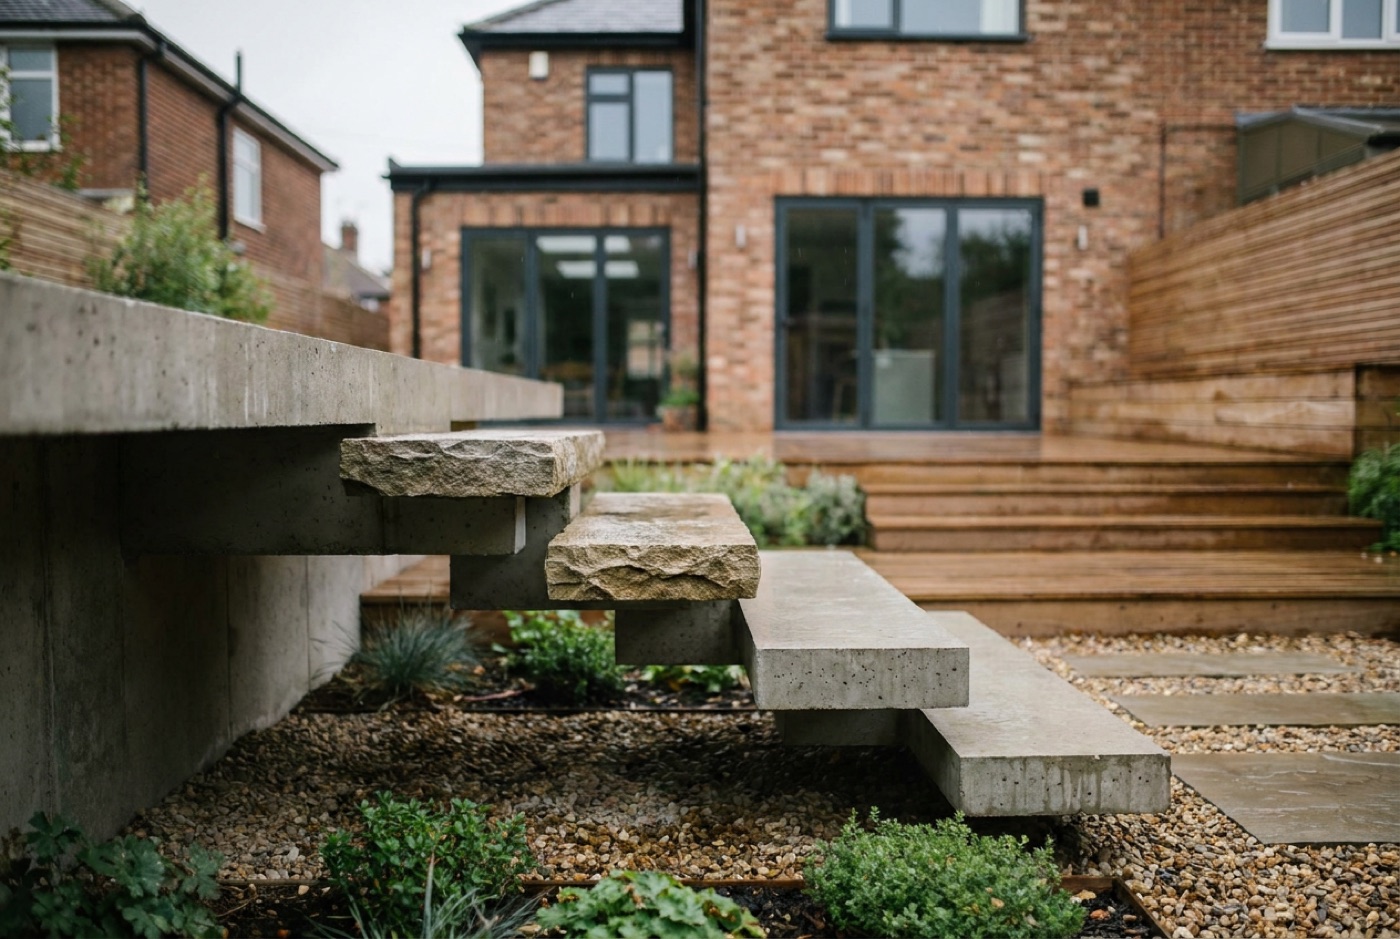 Thick treads cantilevered from a wall or gabion appear to float above a shadow gap — a striking, high-end detail that needs proper anchoring rather than a weekend of DIY.
26. Concrete steps with a board-marked finish
Poured concrete needn’t be dull: cast it against timber boards and you get a board-marked texture with real architectural presence, at a fraction of the cost of stone. It suits bold, modern gardens. Concrete is a specialist pour to get sharp arrises and a good finish, so it’s one to brief a landscaper on rather than DIY.
27. Exposed-aggregate concrete treads
Exposed-aggregate concrete — where the top is washed back to reveal the stone within — gives a naturally grippy, speckled surface that’s hard-wearing and much cheaper than natural stone. It’s a practical choice for a long garden flight. Pick an aggregate colour that echoes your paving or gravel so the steps feel part of the scheme.
28. Gravel-and-timber steps for a cottage path
A relaxed cottage look: timber-edged treads filled with pea gravel or self-binding gravel, stepping gently up between billowing borders. It’s inexpensive, free-draining and forgiving of an uneven slope. Compact the gravel well and keep the front edge retained, or the shingle creeps down the hill with every footstep.
29. Mirror your path material up the steps
For a coherent garden, build the steps from the same material as the path or patio they connect — matching flags, brick or gravel — so the flight reads as a continuation rather than an interruption. It’s the simplest way to make steps look designed rather than added. If budget is tight, match just the tread and use a cheaper material for the hidden risers.
30. A landing halfway up a long flight
On a tall flight, break the climb with a wide landing partway up — a place to pause, turn the direction, or set a pot and a bench. It makes a steep garden feel manageable and far safer. As a rule, work in a landing every 10–12 steps; the pause is as much about comfort as safety.
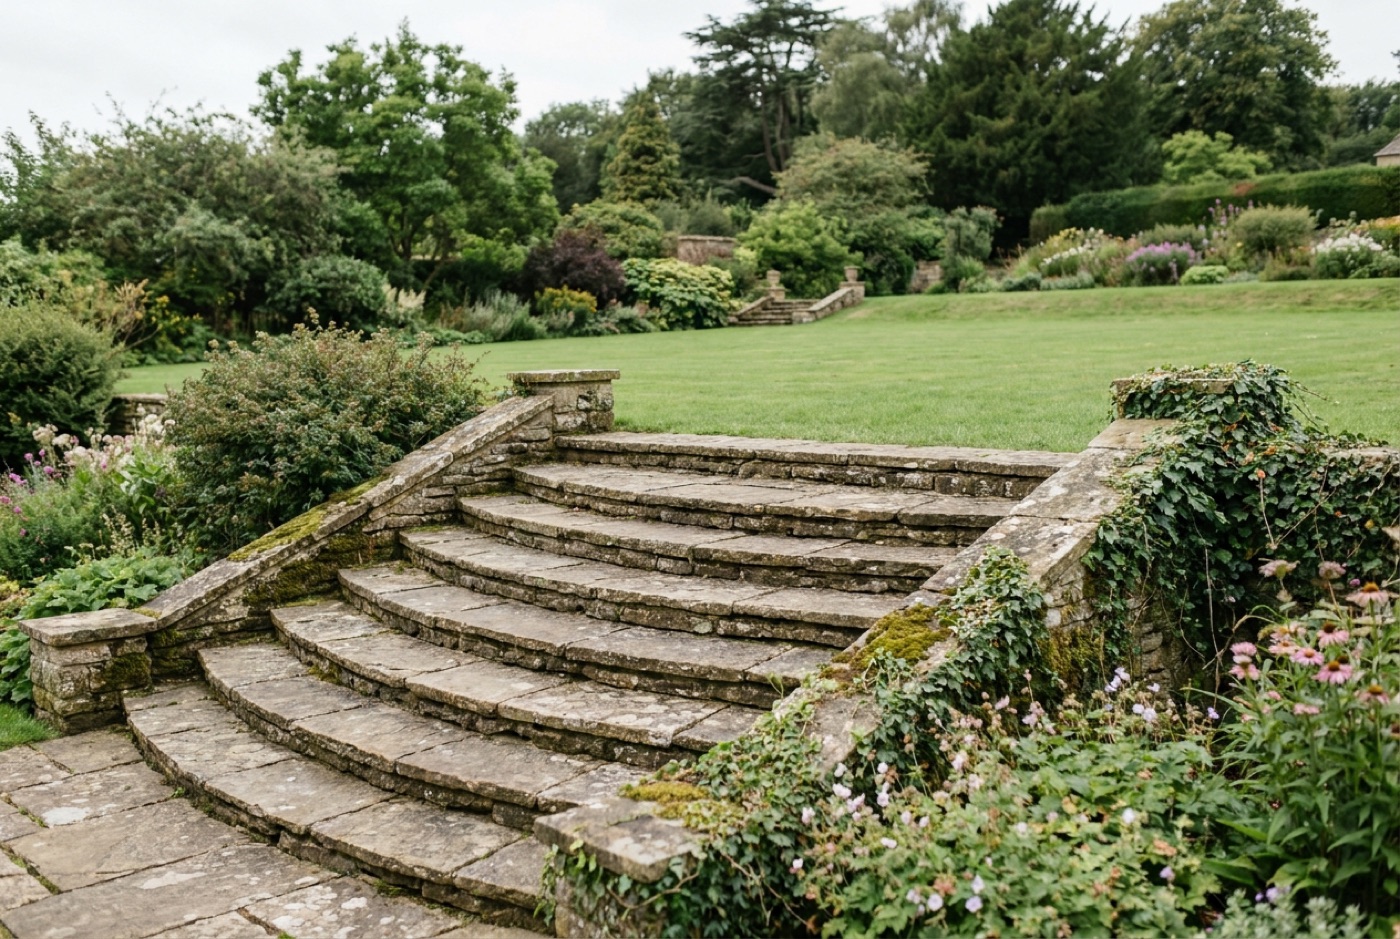 Generous, low-rise steps much wider than the path feel gracious and calm — the grand approach that makes even a modest garden feel considered and welcoming.
Choosing the right material for your garden style
With 30 ideas above, the hardest part is narrowing them down. The quickest way is to start from the style of your house and garden rather than the material — a material that matches its surroundings always looks better than the “best” one that doesn’t. The table below is a rough steer for the most common UK gardens.
| Garden style | Steps that suit it | Why it works |
|---|---|---|
| Period cottage / Victorian | Reclaimed York stone, brick, setts | Weathered, warm and instantly at home against old brick and soft planting |
| Modern / contemporary | Porcelain, flamed granite, board-marked concrete | Crisp lines, dark or pale tones, minimal joints for a clean look |
| Relaxed / rustic | Railway sleepers, gravel-and-timber, log rounds | Informal, cheap and forgiving of an uneven slope |
| Coastal / gravel garden | Self-binding gravel treads, sett edging | Free-draining, textural and echoes a pebbly, planted palette |
| Formal front approach | Portland limestone, dressed York, bullnosed treads | Symmetrical, dressed edges read as smart and welcoming |
Two more things swing the decision: budget and maintenance. Natural stone and porcelain cost more up front but last decades; sleepers and gravel are cheap now but need topping up or replacing sooner. And porous stone (York, Indian sandstone, Portland) needs sealing and the odd clean to keep algae at bay, whereas granite, porcelain and slate are close to fit-and-forget. If in doubt, our pillar guide to the best stone for garden steps weighs up looks, cost and durability side by side.
Stepping stones instead of a full flight
Not every level change needs a built flight. On a gentle grassy bank or through a border, individual slabs set into the ground make an informal, low-cost route that keeps the green feel of the garden — closer to a path than a staircase. It’s the right answer where the drop is small, the traffic is light and a full flight would feel like overkill. For spacing, laying and the best slabs to use, see our guide to garden stepping stones, which covers everything from natural stone rounds to reclaimed York flags.
FAQ
What is the cheapest way to build garden steps?
The cheapest solid option is usually timber sleepers as risers with a gravel or bark tread behind — materials are inexpensive and it’s a genuine DIY job. Cut-into-the-slope earth steps faced with a sleeper or a single row of bricks are cheaper still. Reserve natural stone for the treads people actually see and touch if the budget is tight.
Can you buy ready-made outdoor steps?
Yes — merchants and garden centres sell ready-made step units in stone, concrete and porcelain, including bullnosed treads, corner units and pre-cast concrete step blocks you simply bed on mortar. They save cutting and give a consistent, finished edge. Modular concrete or “step kit” systems are the most beginner-friendly if you’d rather not cut anything on site.
How do you make cheap outdoor steps?
Cut the steps into the slope itself, then face each riser with a low-cost material — a sleeper, a single course of frost-resistant brick, or a treated timber board — and fill the tread with compacted gravel. The soil does the structural work, so you only buy facing material. Compact each tread firmly and retain the front edge, and cheap steps can still be safe and long-lasting.
How steep should garden steps be?
Aim for a rise (the height of each step) of around 100–150mm and a going (the depth of the tread) of 350–450mm — comfortable, unhurried proportions for a garden. A useful rule of thumb is that twice the rise plus the going should land somewhere around 650mm. Above all, keep every step on the flight identical, because a single odd rise is what catches a toe.
Do garden steps need building regulations?
Steps that are purely part of the garden landscaping generally don’t need building regulations approval, but steps forming the main access to a dwelling, or those tied into a raised structure, can be a different matter. It’s worth checking before you build a large or structural flight. See our guide to garden steps and building regs for the full picture, and note that planning rules for boundary and retaining structures may apply separately.
How do I stop garden steps getting slippery?
Choose a naturally grippy finish — riven, flamed, textured or exposed-aggregate — rather than a smooth sawn one, and seal porous stone so it doesn’t glaze over with algae and green film. Keep the treads clear of leaves and standing water, and give them a gentle wash when growth appears. Our guides to the best non-slip stone step treads and removing moss and algae from steps go into detail.
How wide should garden steps be?
For a main garden route, 900mm–1.2m lets two people pass or one carry something comfortably; a secondary path can drop to around 600mm. Wider, generous steps feel more welcoming and are worth the extra material where they make a first impression, such as a front approach or the transition from lawn to patio. Match the step width to the path it connects so the flight doesn’t pinch or bulge awkwardly.
A quick word on safety and grip
Whatever the material, the same rules keep a flight safe: keep every rise and tread consistent (mismatched steps are what trip people), pick a riven, flamed or textured finish over a smooth sawn one, and seal any porous stone so it doesn’t glaze over with algae. For wet British weather in particular, it’s worth reading our guide to the best non-slip stone step treads and, for porous stone, the best stone sealers for steps.
Ready to build your steps?
Once you’ve settled on a look, two guides take you from idea to finished flight: our step-by-step walkthrough on how to lay stone garden steps, and our rundown of the best stone for garden steps to help you choose a material that suits your garden, your budget and the British weather.