How to Lay Stepping Stones in a Lawn or Gravel (Step by Step)
How to lay stepping stones on grass, gravel or in a border — set the stride, cut the turf and bed each stone flush so a mower glides over it.
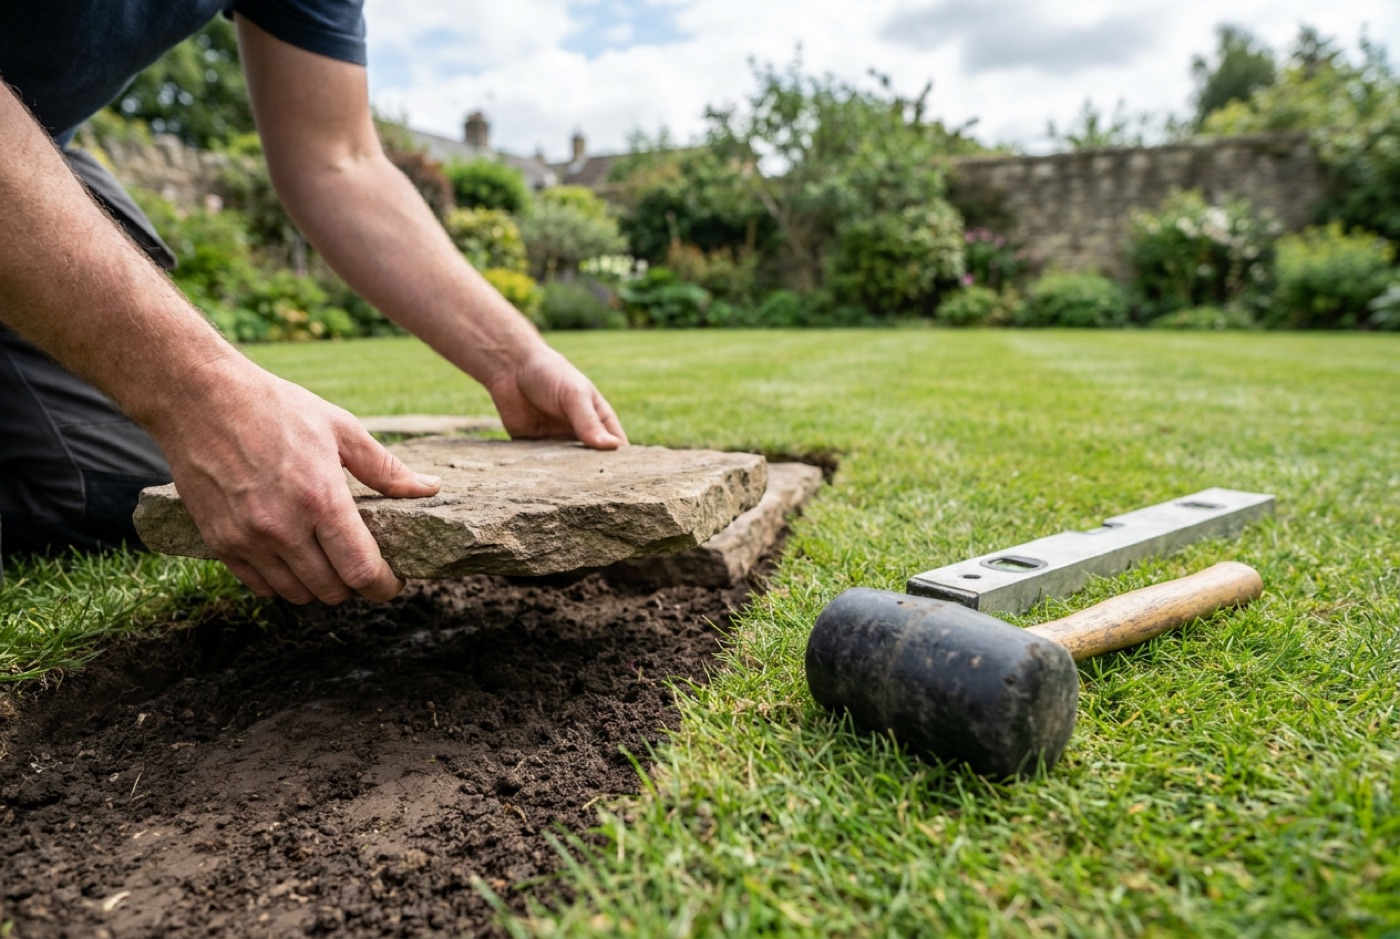
Learning how to lay stepping stones on grass is one of the most satisfying weekend jobs in the garden — and one of the easiest to get slightly wrong. The stones look simple, but the details that separate a professional-looking path from a lumpy trip hazard are all in the setting out: the stride between each stone, the depth you dig, what you bed them on, and getting every stone dead level and just below the turf so the mower sails straight over. Get those right and you have a path that stays put for decades. This guide walks through the whole method for a lawn, then covers the small changes for gravel and planted borders, with a tools list, common mistakes and an FAQ at the end. For design inspiration first, see our stepping stones ideas and materials guide.
Tools and materials you’ll need
You don’t need much for a stepping-stone path, and most of it you’ll already have.
Tools
- A sharp spade and a border spade (or a turf-cutter for long runs)
- A half-moon edging iron — the cleanest way to cut a circle of turf
- A rubber mallet
- A spirit level (600mm is ideal) and a longer straightedge for checking the whole run
- A stiff brush, a bucket and a kneeling pad
- A wheelbarrow for spoil
Materials
- Your stepping stones — natural stone, riven paving, log rounds or precast rounds
- Sharp sand (grit sand) for bedding on a lawn, or a bag or two of ready-mix mortar for a firmer set
- A little cement if you want to stiffen the sand bed in wet or clay ground
- Weed-suppressing membrane if you’re laying into gravel or bark
For anything larger than a single path — a full patio approach, say — read our how to lay stone garden steps guide, which covers deeper foundations and mortar beds.
Step 1 — Set out the stride
This is the step everyone skips, and it’s the one that matters most. A stepping-stone path is spaced to your natural walking pace, not to a tape measure.
Walk the route at a relaxed, normal stride and drop a marker — a cane, a trowel, a handful of sand — wherever the middle of your foot lands. Do it a few times to average it out. For most adults the centre-to-centre spacing lands around 550–650mm, leaving a comfortable gap of roughly 100–150mm of grass between stones. Larger stones can sit a touch further apart; smaller ones want to be closer.
A few pointers when setting out:
- Lay all the stones loose on top of the grass first and walk the run before you cut anything. Adjust until it feels right underfoot.
- On a curve, set the stones to the inside of the sweep — that’s where feet naturally track.
- Aim the long axis of oblong stones across the direction of travel, so your foot has a wide landing.
- Mark round each stone with a trowel or a spray line before you lift it, so you know exactly where to cut.
For laying out longer routes and mixing stepping stones with other surfaces, our garden path ideas guide has plenty of layouts worth borrowing.
Step 2 — Cut the turf
With each stone marked, lift it aside and cut the outline. A half-moon edging iron gives the cleanest circle or square — press it straight down along your mark, following the shape of the stone. For square stones a border spade works fine.
Cut about 20–30mm outside your mark all the way round. That extra margin gives you room to shuffle the stone level without fighting the sides of the hole.
Step 3 — Dig to the right depth
Slice under the turf with the spade held almost flat and lift out the plug of grass and soil. The depth is the part people get wrong, so measure it against the stone itself rather than guessing.
You want the finished stone to sit flush with the surrounding lawn, or 5–10mm below it — never proud. A stone sitting above the grass is a stubbed toe and a mower-blade wrecker; a stone sitting slightly below lets the blades pass clean over the top.
So the hole depth is:
stone thickness + 30–40mm bedding layer = total excavation depth
For a typical 30mm riven paver that’s a hole around 60–70mm deep. For a chunky 50mm natural stone round, more like 80–90mm. Dig the base roughly flat and firm it down with your heel or the mallet handle — loose soil in the bottom is what lets a stone rock and sink later.
Step 4 — Lay the bedding layer
Tip 30–40mm of sharp sand into the hole and rake it level with your hand or a trowel. Sharp (grit) sand is the standard bed for a lawn path — it drains, it beds firmly, and it lets you tap the stone to a perfect level.
Two useful variations:
- Wet or clay ground: mix the sharp sand roughly 6:1 with cement (a “dry, semi-dry” mix). It won’t wash out and gives a firmer set without the full commitment of mortar.
- Heavy stones or a path that takes real traffic: bed on a full mortar mix instead (4:1 sharp sand to cement). Butter it into the hole, then set the stone straight onto it.
Never bed a stepping stone on soft topsoil or leaf mould alone — it’ll sink within a season.
Step 5 — Set the stone and level it
Lower the stone onto the bed and press it down with a wiggle to seat it. Now the levelling.
- Lay your spirit level across the stone and tap the high side down with the rubber mallet.
- Check it in both directions and diagonally — a stone can read level one way and rock the other.
- Give it a very slight fall (1–2mm) so surface water sheds rather than pools. On a slope, keep the tread of each stone level and let the ground fall between them.
- Add or scrape away sand under any corner that won’t settle — don’t force a stone flat against a high spot in the bed.
Stand on it. It should feel solid with no rock or wobble whatsoever. A stone that rocks now will only get worse.
Use your long straightedge to check each new stone against the last two or three, so the whole run reads consistent rather than drifting up and down.
Step 6 — Point, backfill and firm up the edges
Once the stone is level, close the gap between the paver and the surrounding turf.
- On a grass path, brush a little soil or sand into the ring around each stone and firm it with your fingers or the mallet handle. Sprinkle grass seed into the gap in growing season and the lawn will knit right up to the edge.
- If you bedded on a semi-dry or mortar mix, point the joint by pressing the same mix around the stone with a pointing trowel and tooling it smooth, leaving it just below the stone’s face.
Brush the surface clean, water it in gently to settle everything, and leave a mortar-set path 24 hours before walking it. A sand-set lawn path can be used almost straight away.
Laying stepping stones in gravel
The method is nearly identical, with a couple of changes:
- Rake the gravel back to expose the membrane or sub-base beneath.
- Cut and fold back the membrane, then excavate as above — stone thickness plus a 30–40mm bed.
- Bed the stone on sharp sand (or semi-dry mix) and level it so the top sits a few millimetres proud of the finished gravel level. Gravel migrates and you want the stone to stay walkable, not to disappear under scattered stones.
- Rake the gravel back around the stone. A ring of the same membrane or a hidden edging restraint stops gravel creeping onto the stone.
The gravel does the drainage work here, so you rarely need cement unless the ground is very soft.
Laying stepping stones in a border or planting
Through a bed, stepping stones give you access without compacting the soil around your plants.
- Bed each stone on a semi-dry sharp-sand-and-cement mix — borders get watered and dug, and a plain sand bed can wash out.
- Set stones level with the soil or a fraction below, so bark mulch and soil sit against the edge and the stone reads as a natural pause in the planting.
- Leave breathing room around the crowns of nearby plants; a stone hard against a stem traps moisture.
Quick reference: bed and depth by setting
| Setting | Bed the stone on | Set the stone… | Cement needed? |
|---|---|---|---|
| Lawn | 30–40mm sharp sand | Flush to 10mm below turf | No (yes on clay) |
| Gravel | 30–40mm sharp sand | A few mm proud of gravel | Rarely |
| Border / planting | Semi-dry sharp sand + cement (6:1) | Level with soil or just below | Yes |
| Heavy stone / high traffic | Full mortar (4:1) | Flush and dead level | Yes |
Common mistakes to avoid
- Measuring the spacing instead of walking it. A path spaced by tape rather than by stride forces an awkward gait. Always walk the run and place to your natural pace.
- Setting stones proud of the lawn. The single most common error — it wrecks mower blades and stubs toes. Aim flush or slightly below.
- Skimping on the excavation. Bed a stone straight onto topsoil and it will rock and sink within months. Dig for a proper sand or mortar bed every time.
- Not checking level both ways. A stone can be level along the path yet tilt sideways. Check across, along and diagonally, and stand on it before you move on.
- No fall for water. A perfectly flat stone holds a puddle. A hair of fall (1–2mm) sheds rain and stops winter ice lifting the stone.
- Spacing too wide “to save stones”. Overstretched gaps make people lunge and wear a muddy track between the stones. Keep to your natural stride.
FAQ
How far apart should stepping stones be on grass?
Space them centre-to-centre at your natural walking stride — for most adults that’s about 550–650mm, leaving roughly 100–150mm of grass between each stone. Always walk the route and place a marker where your foot lands rather than measuring a fixed gap, because a path spaced to a tape forces an unnatural stride.
Do I need to put anything under stepping stones?
Yes — bed each stone on 30–40mm of sharp (grit) sand, not on bare topsoil. Sand beds firmly, drains well and lets you tap the stone dead level. On clay, wet ground or under heavy stones, stiffen the bed with a little cement or use a full mortar mix so it can’t wash out and let the stone sink.
How deep should you dig for stepping stones?
Dig to the thickness of the stone plus 30–40mm for the bedding layer. For a typical 30mm paver that’s a hole around 60–70mm deep; for a chunky 50mm natural stone round, nearer 80–90mm. The aim is for the finished stone to sit flush with the lawn or a few millimetres below it.
Can you lay stepping stones directly on soil?
You can, but they won’t last. Soil compresses unevenly, so the stone soon rocks, tilts and sinks — and on grass it ends up proud of the surface, catching the mower. A 30–40mm sand bed on firmed ground takes only a few extra minutes per stone and is the difference between a path that lasts a season and one that lasts decades.
How do I stop the mower catching the stepping stones?
Set every stone flush with the lawn or 5–10mm below it, never proud. When the stone top sits at or just under the grass line, the mower blades pass cleanly over. If a stone is sitting high, lift it, scrape out some bedding sand and reset it lower — it’s a five-minute fix that saves your blades.
Should stepping stones be level or sloped?
Each individual stone should read level so it feels solid underfoot, with just a hair of fall (1–2mm) to shed rainwater. On a sloping garden, keep the top of each stone level and let the ground fall away between the stones rather than tilting the stones themselves — the same principle we cover in our how to lay stone garden steps guide for full flights.