How to Repair Cracked, Chipped or Sunken Stone Steps
How to repair stone steps: fix chipped nosings, cracked treads, loose or sunken steps and worn slippery surfaces — plus when to repair vs replace.
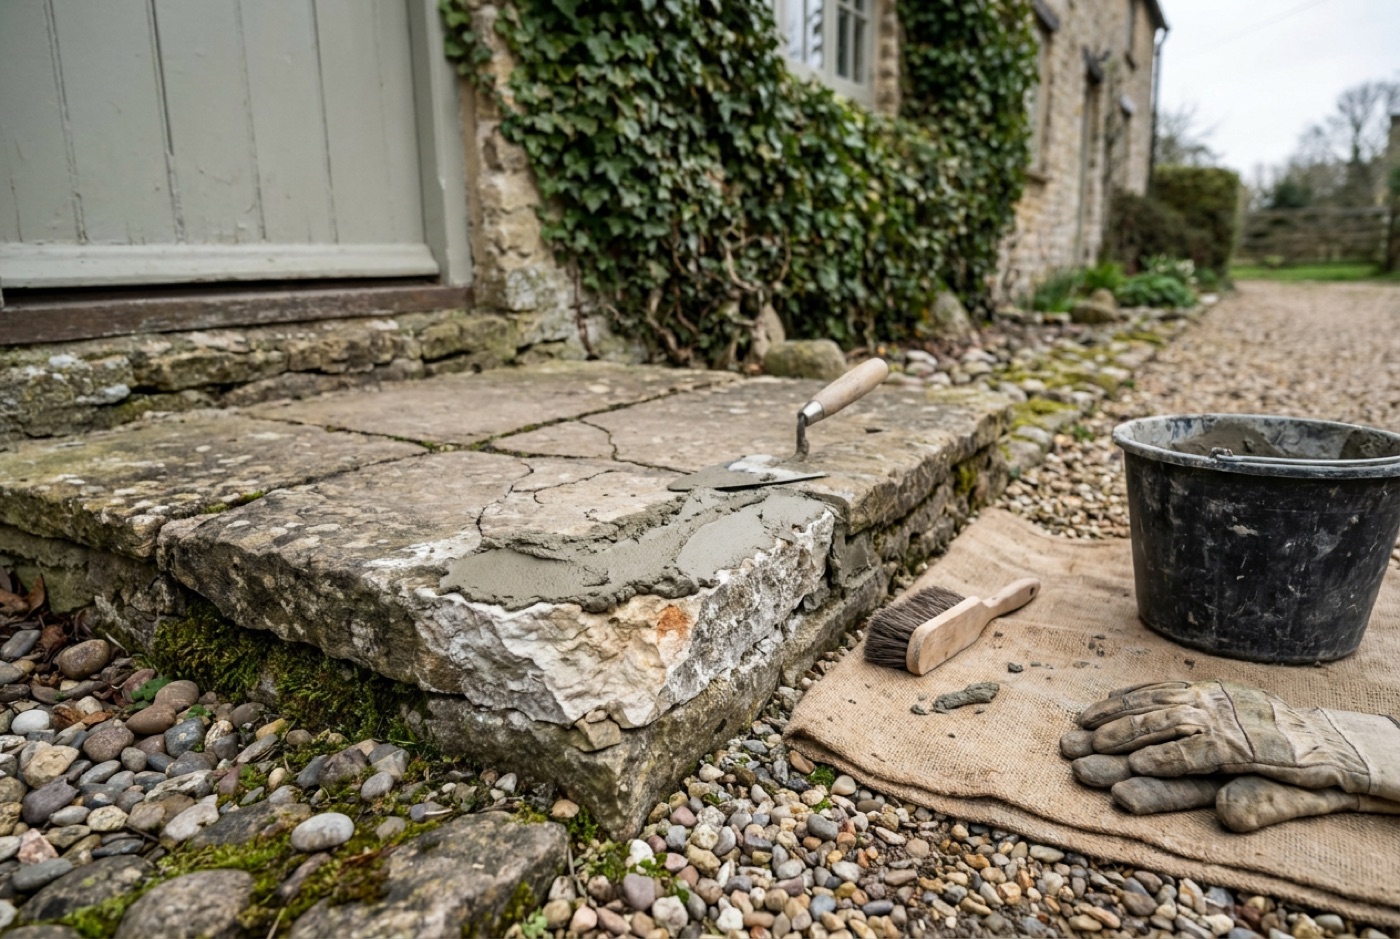
Knowing how to repair stone steps properly can save you the cost and upheaval of lifting and relaying a whole flight. Most of the problems British stone steps develop — a chipped front edge, a hairline crack across a tread, one step that has sunk or gone hollow underfoot, or a surface worn glassy and slippery — are fixable with the right materials and a patient afternoon. The trick is diagnosing the fault correctly first, because a crack caused by a moving base needs a very different fix from one caused by a single hard knock. This guide walks through the common faults one by one, the tools and materials you’ll need, the method for each repair, and the honest point at which repair stops making sense and replacement is the better call.
Diagnose the problem first
Before you mix anything, work out why the step failed. Getting this wrong is the single most common reason repairs don’t last — you patch the symptom, the cause comes back, and the repair pops off within a season.
Walk the flight and press each step with your full weight, heels first. Ask:
- Is it a surface fault or a structural one? A chipped nosing or a worn face is cosmetic — the step is still sound. A step that rocks, sounds hollow, or has a crack running right across it may be moving on its bed.
- Is water involved? Standing water, blown joints and green algae almost always point to a drainage or falls problem. Fix that first or the repair fails again.
- Is it one step or the whole flight? A single failed step is usually a local fix. Several steps cracking or sinking together suggests a base, foundation or drainage issue that no amount of surface repair will cure.
If the base is the real culprit, the honest answer is often to lift and re-bed rather than patch. Our guide to laying stone garden steps covers building a sound sub-base — the same principles apply when you re-set a failed step.
Tools and materials
You won’t need everything for every job, but a typical stone-step repair kit is:
| Item | Used for |
|---|---|
| Bolster chisel and lump hammer | Cutting back loose or spalled stone to a sound edge |
| Angle grinder + diamond blade | Neatening cracks and cutting out failed mortar |
| Repair mortar (stone/resin-based) | Rebuilding chipped nosings and edges |
| Fresh sharp sand and cement | Re-bedding and repointing |
| SBR bonding agent | Priming old stone so new mortar grips |
| Pointing trowel, margin trowel | Applying and shaping repairs |
| Stiff brush, sponge, buckets | Cleaning out and finishing |
| Spirit level, rubber mallet | Re-setting loose or sunken steps |
| Stone-coloured pigment / dust | Colour-matching a mortar repair |
| Dust mask, goggles, gloves | Silica dust and cement are both hazardous |
A quick note on repair mortar: for a small, load-bearing edge such as a nosing, a rapid-setting stone repair mortar (a resin- or cement-based product sold for exactly this) outperforms a home-mixed sand-and-cement patch, which tends to be too weak and too grey. For bedding and repointing, though, a traditional sand-and-cement or lime mortar is right.
Repairing a chipped or worn nosing
The nosing — the front edge of the tread — takes the most punishment and is the part that chips, rounds off or crumbles first. A well-built mortar repair is usually invisible once weathered.
- Cut back to sound stone. Chisel or grind away all loose, flaky or crumbling material until you reach solid stone. A repair only holds on a sound, slightly rough surface — never onto dust or flakes.
- Undercut the edge. Cut the recess so it’s very slightly wider at the back than the front (a dovetail). This mechanical key stops the repair pushing off under foot traffic.
- Clean and prime. Brush out all dust, dampen the stone, then paint on an SBR bonding agent (or the primer supplied with your repair mortar). Old stone is thirsty and will suck the water out of fresh mortar if you skip this.
- Build up in layers. For a deep repair, apply the mortar in two or three passes rather than one thick lump, letting each firm up. This prevents slumping and shrinkage cracks.
- Shape and match. Form the new edge slightly proud, then cut it back flush and crisp once it has started to go off. Work stone dust or pigment into the top face to blend the colour.
- Cure slowly. Cover the repair and keep it damp for a day or two in warm weather — fast drying is what causes patch repairs to craze and fail.
For a nosing that’s worn smooth and slippery rather than chipped, the fix is grip, not mortar. A textured finish, an anti-slip insert or a proprietary tread cover restores traction — see our guide to the best non-slip stone step treads.
Repairing a cracked tread
Not every crack needs the same treatment. Diagnose the crack before you fill it.
- A hairline surface crack with no movement is largely cosmetic. Rake it out slightly, prime it and fill with a colour-matched repair mortar or a flexible stone-repair resin.
- A crack that’s opening, stepped or moving means the step is under stress — usually from a hollow bed, a shifting base or water expansion below. Filling it without addressing the cause just hides it until it reopens.
- A tread cracked clean into two pieces can sometimes be resin-bonded and re-bedded, but if it rocks or the halves no longer sit flush, replacement of that single tread is usually the sounder result.
To fill a stable crack: grind or rake the crack out into a small V-groove so there’s a channel for the filler to key into, vacuum out the dust, dampen and prime, then work in repair mortar or a two-part stone resin. Smooth flush, sponge off the haze and let it cure slowly. For a stone-coloured resin, dusting fine stone powder onto the wet surface hides the join.
If the crack keeps reappearing, the tread is almost certainly moving on a poor bed — skip to the re-bedding method below.
Re-bedding a loose or sunken step
A step that rocks, tips or sounds hollow has lost contact with its bed. Left alone, water gets underneath, freezes, and the movement gets worse every winter. The fix is to lift it and re-bed it on a full, solid mortar bed.
- Lift the tread carefully. Rake out the pointing around it, then ease it up with a bolster and a bar. Natural stone is heavy and brittle — get help, and lift rather than lever hard against a corner.
- Clear the old bed. Chisel away all the crumbled or hollow mortar down to a firm base. If the sub-base itself is soft or washed out, compact fresh hardcore before you go any further — this is where a sunken step is really cured.
- Lay a full mortar bed. Butter a generous, full bed of 4:1 sharp-sand mortar across the whole footprint. Never spot-bed a step on five dabs of mortar — the unsupported middle is exactly what cracks underfoot later.
- Set the tread with a fall. Bed it down with a rubber mallet, checking it’s level side to side but with a slight forward fall (2–3mm) so rain runs off the front rather than pooling and soaking back in.
- Point up and cure. Once the bed has gone off, repoint the joints. Keep foot traffic off it until the mortar has properly cured.
A sunken step is one of the clearest signs the base — not the stone — has failed. The lasting fix is the same groundwork we cover in how to lay stone garden steps: a compacted, well-drained sub-base under a full bed.
Repairing spalling and flaking stone
Spalling — where the surface of the stone flakes, blisters or delaminates in layers — is a moisture problem, not a wear problem. Water gets into the stone, freezes, and pushes the surface off. Common on soft sandstones and on stone that’s been trapped under an impermeable sealer or de-iced with the wrong salt.
To deal with it:
- Find and fix the water source. Blown joints, a missing fall, splashback from the ground, or a leaking gutter overhead are the usual culprits. Repointing and restoring drainage is half the job.
- Cut back the loose face. Remove all flaking, drummy material until you reach sound stone. Painting over live spalling just seals the problem in.
- Rebuild or dress the surface. Shallow loss can be dressed back with a breathable stone repair mortar. If a large area has delaminated, that unit is usually past economical repair.
- Never use rock salt to de-ice soft stone steps — it accelerates spalling. Use grit or sand for traction instead.
Once repaired, avoid trapping moisture in. On soft, spall-prone stone a breathable (impregnating) sealer lets the stone dry out, whereas a film-forming sealer can make spalling worse. Our stone sealer buying guide explains the difference between breathable and film-forming products.
Repointing failed joints
Crumbling, cracked or missing pointing isn’t just cosmetic — open joints let water straight into the bed, which is what causes most of the sinking, spalling and cracking above. Repointing is often the single most valuable repair you can do to a tired flight.
The short version: rake the old mortar out to a good depth, brush out the dust, dampen the joints, then press in a fresh mortar (a 4:1 sand-and-cement, or a lime mortar for older or softer stone) and tool it to a neat, weather-shedding finish. Because it’s a repair in its own right, we’ve covered it fully in how to repoint stone steps and walls, including the right mortar mix and joint profiles.
Restoring a worn, slippery surface
Sometimes the stone is structurally perfect but has been polished glassy-smooth by decades of feet, or has grown a permanent film of algae in a damp, shaded spot. This is a grip problem, not a strength problem, so the fix is about texture and cleaning rather than mortar.
- Clean it first. A worn surface is often just a dirty, algae-covered one. A proper clean can restore both looks and grip — see how to clean stone steps and patios for the safe method, and how to remove moss and algae for the green film specifically.
- Add texture. If the stone is genuinely polished smooth, options range from anti-slip strips and inserts to a light re-texturing of the surface.
- Fit a tread solution. For a permanent answer on a steep or well-used flight, purpose-made non-slip treads are the reliable choice — our non-slip tread guide compares them.
When to repair vs replace
Repair is nearly always cheaper, quicker and kinder to old stone than replacement — but not always the right call. Use this as a rough guide:
| Situation | Usually repair | Usually replace |
|---|---|---|
| Chipped or worn nosing | ✅ Rebuild with repair mortar | — |
| Hairline / stable crack | ✅ Fill and colour-match | — |
| Tread cracked into loose pieces | Bond if flush and stable | ✅ If it rocks or won’t sit flush |
| One loose / sunken step | ✅ Lift and re-bed | — |
| Whole flight sinking / moving | — | ✅ Base has failed — relay |
| Surface spalling, small area | ✅ Dress back, breathable sealer | — |
| Widespread delamination | — | ✅ Stone is past saving |
| Worn slippery surface | ✅ Clean, texture or fit treads | — |
The deciding questions are always: is the stone itself sound, and is the base sound? If both are yes, repair. If the base has failed under multiple steps, or a unit has crumbled beyond a clean fix, spending money on patches is false economy — lift and relay that section properly instead.
FAQ
Can you repair a cracked stone step yourself?
Yes — a stable, non-moving crack is a straightforward DIY repair. Rake the crack into a small V-groove, clean and prime it, then fill with a colour-matched stone repair mortar or a two-part stone resin and let it cure slowly. A crack that’s opening up or a step that rocks is a different matter — that points to a moving base, which needs re-bedding rather than filling.
What’s the best filler for repairing stone steps?
For rebuilding a load-bearing edge like a nosing, use a proper stone repair mortar (resin- or cement-based, sold specifically for the job) rather than plain sand and cement, which is too weak and too grey. For filling fine cracks, a flexible two-part stone resin gives the neatest result. For bedding and pointing, a traditional sand-and-cement or lime mortar is correct.
Why does one of my stone steps keep sinking?
A repeatedly sinking step almost always means the base has failed, not the stone — usually a soft or washed-out sub-base, or water getting under it through open joints and eroding the bed. Surface fixes won’t hold. The lasting cure is to lift the step, compact a proper sub-base beneath it and re-bed it on a full mortar bed, exactly as you would when laying new steps.
How do I stop a repaired step chipping again?
Cut the repair back to sound stone and undercut the recess so the new mortar keys in mechanically, prime the old stone with a bonding agent, build up in thin layers, and cure it slowly and damp. Once repaired, sealing the stone slows water ingress and freeze-thaw damage, which is what causes most edges to break down in the first place.
Should I repair or replace a badly spalled stone step?
If only a small, shallow area has flaked, cut back the loose face and dress it with a breathable repair mortar. If a large part of the surface has delaminated in layers, that unit is usually past economical repair and replacement is the sounder result. Either way, find and fix the water source first — spalling is a moisture problem, so new stone in the same wet conditions will simply spall too.
Can worn, slippery stone steps be made safe again?
Yes. Often the “wear” is just built-up algae, so a proper clean restores grip on its own. If the stone is genuinely polished smooth, you can add texture with anti-slip inserts, strips or purpose-made non-slip treads. See our non-slip stone step tread guide for the options that suit different flights.